Space Settings
Each space can override the global Jetonomy defaults with its own settings. This page is a complete reference for every per-space option, how it interacts with global settings, and how invite links work.
What You Will Learn
- Every per-space setting and what it controls
- How per-space settings override global defaults
- How to require moderator approval before posts go live
- How to create, share, and track invite links
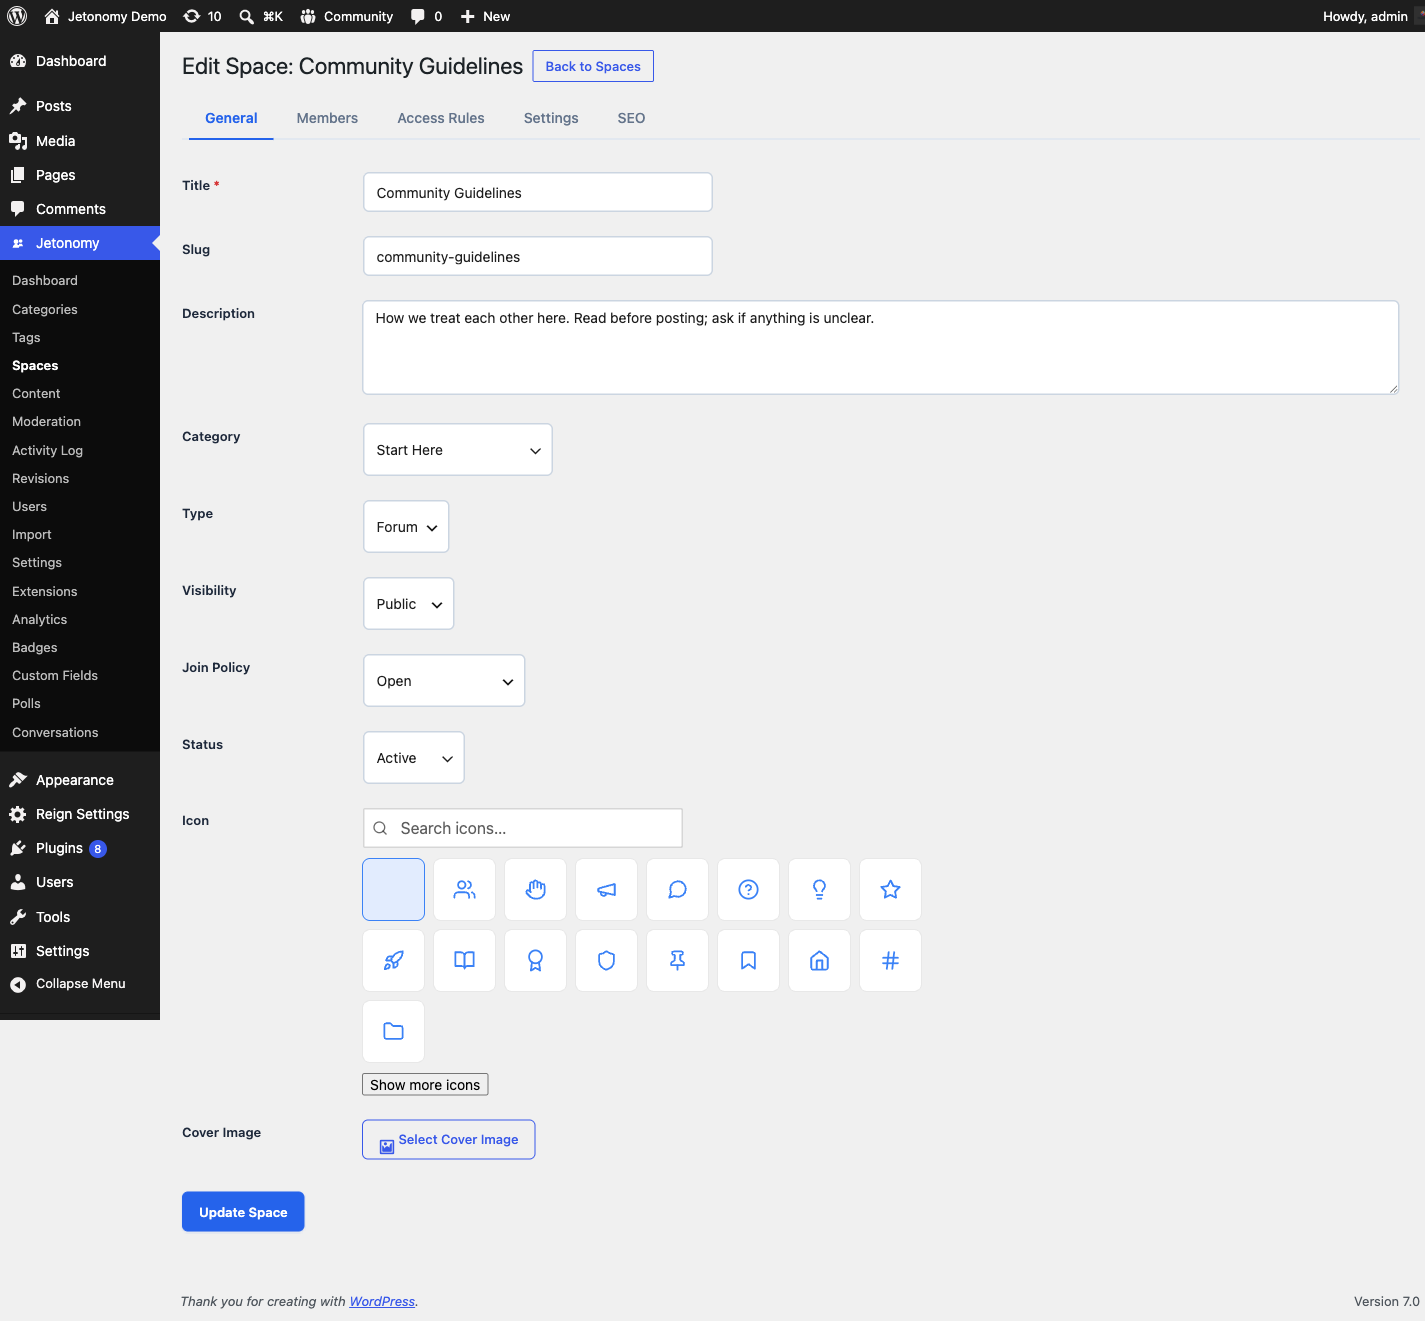
Accessing Space Settings
Go to Jetonomy → Spaces in your WordPress admin, find the space, and click Edit. The settings panel is on the right side of the edit screen.
Per-Space Settings Reference
Posts Per Page
Default: Inherits from global setting (default: 20)
Overrides how many topics appear per page on this space's listing. Set a lower number for low-traffic spaces with long post titles. Set a higher number for high-activity spaces where members scan quickly.
Valid range: 5 to 100.
Require Post Approval
Default: Off
When enabled, every new post submitted by a non-moderator is held in a pending state and does not appear publicly until a moderator approves it.
Moderators and space admins can see pending posts immediately in the space listing with a "Pending" label. They can approve, reject, or mark the post as spam from the topic view or from Jetonomy → Moderation.
The post author receives a notification when their post is approved or rejected.
Tip: Enable this for your early community days when you want to review every submission, then turn it off once you trust your membership base.
Allow Voting
Default: On (inherits from global)
Controls whether upvote and downvote buttons appear on posts and replies in this space. Disabling voting also removes vote scores from the space's topic listing.
In Q&A spaces, voting is always available on replies regardless of this setting - otherwise the Best sort and accepted-answer workflow cannot function correctly.
In Ideas spaces, voting cannot be disabled because it is the core mechanism for prioritizing ideas.
Who Can Post
Default: Anyone (members)
See Membership & Join Policies for the full option set. The per-space value overrides the global default for this space only.
Who Can Reply
Default: Anyone (members)
Controls who can add replies to topics in this space. Overrides the global default for this space only.
Post Prefixes
Default: Off
Prefixes are short, colored labels members can attach to the front of a topic title - for example "Bug", "Idea", "Solved", or "Announcement" - so the listing is easier to scan.
Turn on the Enable prefixes toggle to reveal the prefix list, then add one row per prefix. Each row has a label (up to 50 characters) and a color swatch. Add as many as the space needs, and remove any with the × button.
Once prefixes are enabled:
- When a member starts a new topic in the space, an optional Prefix dropdown appears on the compose form. They pick one (or leave it blank).
- The chosen prefix shows as a colored label in front of the topic title on the space listing and the single-topic view, using the color you set.
Prefixes are configured per space, so a "Support" space can offer "Bug / Question / Solved" while an "Announcements" space offers none. You can manage prefixes from either the wp-admin space editor or the front-end Edit Space page.
How Per-Space Settings Override Global Settings
Jetonomy uses a two-layer settings system:
- Global settings - Set at Jetonomy → Settings → Community. These are the defaults that apply to every space.
- Per-space settings - Set on individual spaces. When a per-space value is configured, it takes precedence over the global value for that space only.
If you leave a per-space setting at "Inherit from global," any future changes to the global setting will automatically apply to that space. If you explicitly set a per-space value, global changes do not affect it.
This means you can configure a sensible default globally and only override the spaces that need different behavior - instead of configuring every space individually.
Access Rules for Membership-Gated Spaces
For Private and Hidden spaces, you can restrict access based on external membership status - not just whether someone has joined the space.
Go to the Access Rules tab on the space edit screen to add rules.
Each rule has three parts:
Rule Type - What to check:
| Type | What it checks |
|---|---|
| Everyone | Matches every visitor, including logged-out users |
| Logged In | User is authenticated |
| WordPress Role | User has a specific WP role (e.g. Editor) |
| Capability | User has a specific WP capability |
| Trust Level | User's Jetonomy trust level (0 - 5) |
| Membership | User has an active membership. The specific provider - MemberPress or Paid Memberships Pro in free, plus WooCommerce Memberships, Restrict Content Pro, and LearnDash in Pro - is chosen within the rule via the matching membership adapter |
Access Grant - What to allow:
| Grant | Effect |
|---|---|
| Read | Can view posts and replies, cannot participate |
| Participate | Can read, post, and reply |
| Full | All participate abilities plus moderator actions |
Auto-Assign Role - Optionally assign the member a space role (Member, Moderator, Admin) automatically when the access rule is satisfied. This is useful when you want MemberPress Gold members to automatically become space moderators.
Multiple rules can be stacked. Jetonomy grants the highest matching permission level.
Note: MemberPress and Paid Memberships Pro adapters are available in Jetonomy free. WooCommerce Memberships, Restrict Content Pro, and LearnDash adapters require Jetonomy Pro.
Invite Links
Invite links let you bring specific people into a space without opening up general membership.
Where to manage invite links: invite links are created and tracked from the wp-admin space edit screen (Jetonomy → Spaces → [space] → Edit → Invite Links), not from the front-end Edit Space page. A space owner without wp-admin access can run an Invite Only space, but a site administrator generates and shares the links on their behalf.
Creating an Invite Link
- Open the space for editing in wp-admin and go to the Invite Links section.
- Click Create Invite Link.
- Set an optional Usage Limit (how many people can use this link before it expires).
- Set an optional Expiry Date.
- Click Generate.
Jetonomy generates a unique URL: /community/invite/abc123def/
Sharing an Invite Link
Copy the link from the Invite Links table and share it however you prefer - email, Slack, a membership welcome email, etc.
When someone visits the link, they are prompted to log in if they are not already. After logging in, they are automatically added to the space as a Member.
Tracking Usage
The Invite Links table shows each link's current usage count against its limit. Links that have reached their usage limit are automatically deactivated but remain in the table for your records.
You can manually deactivate or delete any invite link at any time.
Space RSS Feeds
New in 1.5.0. Every public space publishes an RSS 2.0 feed of its latest 20 topics at:
https://your-site.com/community/s/{space-slug}/feed/
Feed readers and browsers discover it automatically from the space page. Members and visitors can follow a single space from any RSS reader without creating an account - useful for announcement spaces, changelogs, and "follow this team" workflows.
Privacy is preserved: the feed serves only what a logged-out visitor could already read. Private and hidden spaces return 404 from their feed URL, and switching the whole community to private mode disables all feeds. Developers can adjust feed contents with the jetonomy_space_feed_posts filter.
What's Next?
Learn how to create topics and posts inside your spaces.
Related Pro Features
- Custom Fields - add structured fields to posts and profiles, configurable per space.