Setup Wizard
After you activate Jetonomy, a three-step wizard walks you through the only decisions you need to make before your community goes live. The whole process takes about two minutes.
What You Will Learn
- How to set your community URL slug
- How to choose between creating your first space manually or loading demo data
- What the wizard does, and what you can always change later
Opening the Wizard
Click the blue notice at the top of your WordPress dashboard, or go to Jetonomy → Dashboard and click Launch Setup Wizard.
The wizard runs in a full-screen overlay. You can close it at any time. Your progress is saved, and you can return to finish it later.
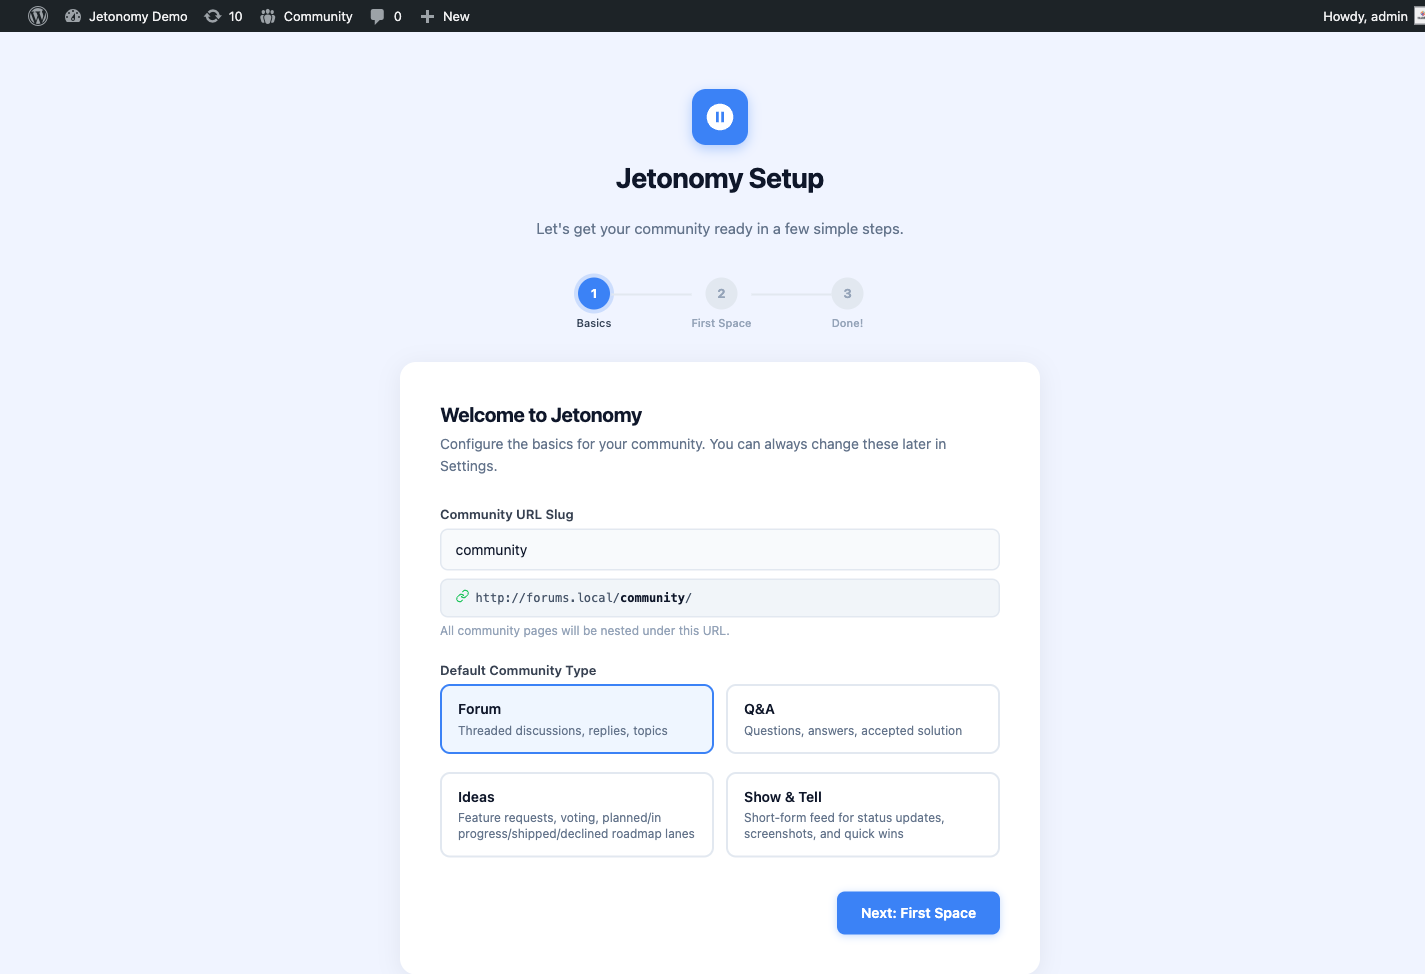
Step 1: Community URL
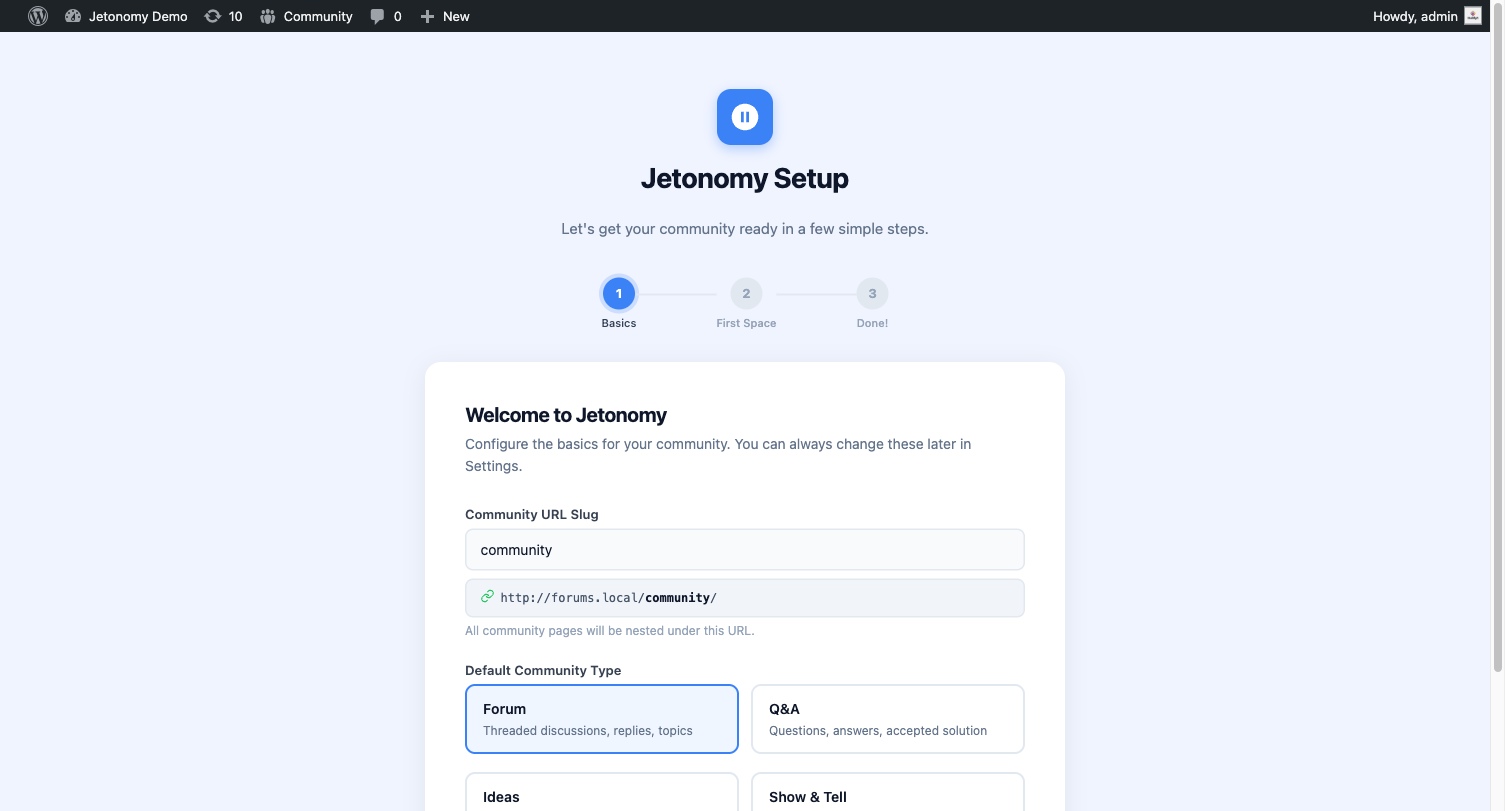
Choose the slug where your community will live on your site.
The default is community, which gives you yoursite.com/community/. You can change this to anything that fits your site: forum, hub, members, discuss, or your brand name.
| Example slug | Resulting URL |
|---|---|
community |
yoursite.com/community/ |
forum |
yoursite.com/forum/ |
hub |
yoursite.com/hub/ |
Default space type: Also on this screen, choose the default type for new spaces you create. Your options are:
- Forum - open-ended threaded discussion
- Q&A - questions with votable answers; the best answer can be marked accepted
- Ideas - feature requests and votes with a status-lane roadmap
- Feed - short-form cards for status updates, introductions, and sharing work
You can create spaces of any type regardless of what you choose here. This setting just controls the default when you click "Add Space" later.
Tip: You can change your community URL slug later in Jetonomy → Settings → General. Jetonomy automatically flushes permalink rules when you save.
Make the community your homepage: Under Jetonomy → Settings → General → Community Setup, enable Show the community home on the site front page to serve the community home at your site root. This takes precedence over the WordPress "Your homepage displays" setting, and all other community URLs, posts, and feeds keep working unchanged.
Step 2: First Space
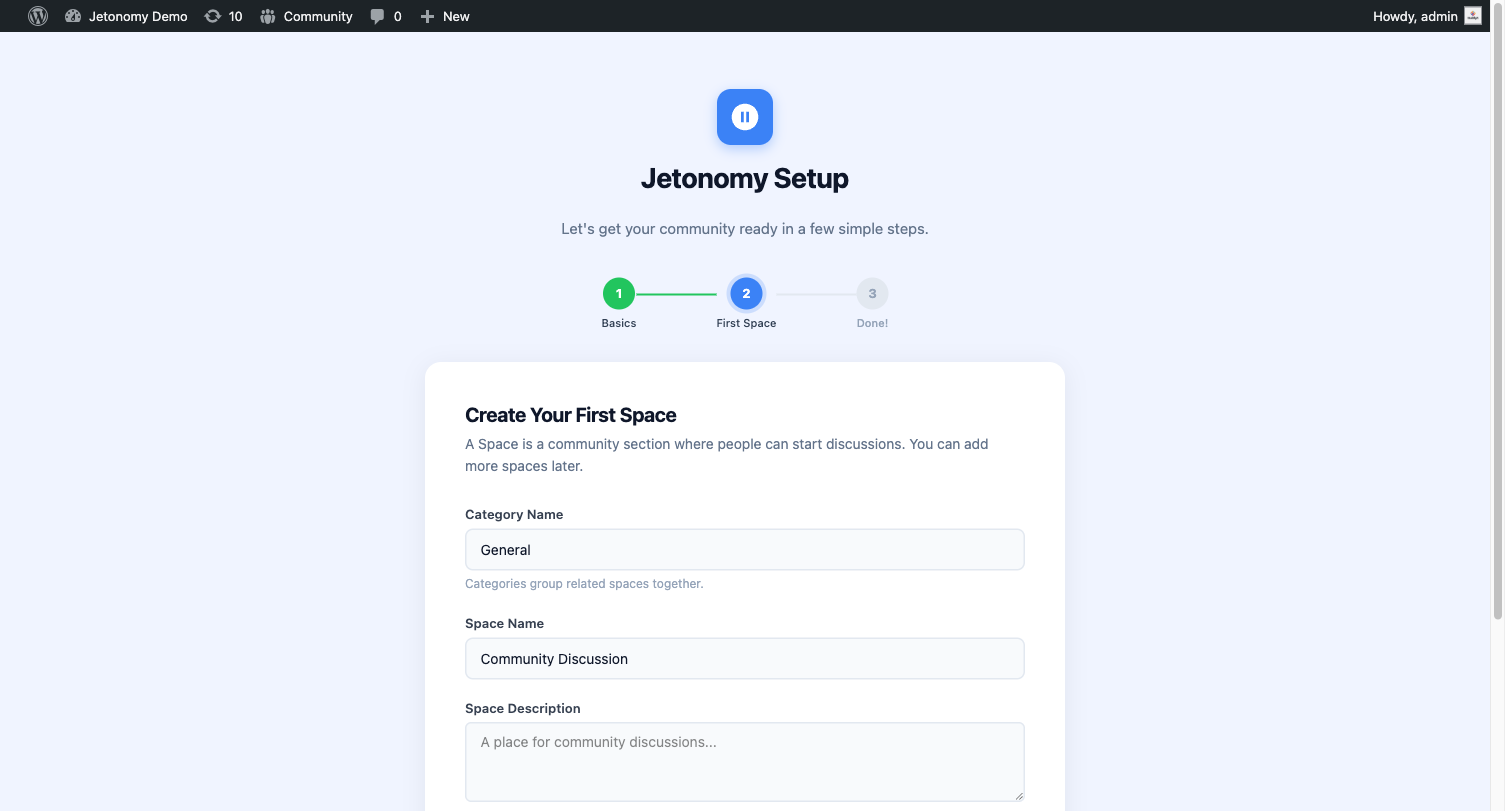
This step gets real content into your community so it is ready to share the moment you finish. Choose the path that fits where you are right now.
Path A: Create Your First Space
Choose this if you are setting up a production site and want to start with your own content.
- Enter a name for your first space (e.g., "General Discussion").
- The space uses the default type you picked in Step 1 (Forum, Q&A, Ideas, or Feed). You can change a space's type any time under Jetonomy → Spaces → Edit.
- Click Create Space.
Your space is created and visible immediately after you finish the wizard.
Path B: Load Sample Data
Choose this if you want to try Jetonomy's features before committing to a structure.
Jetonomy seeds your site with a complete, realistic community:
- Four categories - Start Here, Product & Engineering, Community, and Help & Support
- A full set of spaces across all four types - Forum, Q&A, Ideas, and Feed - so you can see how each type behaves (for example, "Feature Requests" is an Ideas space with a roadmap, "Bug Reports" is a Q&A space with accepted answers, and "Announcements" is a Feed space)
- Demo users with realistic avatars, trust level badges, and posting history
- Sample posts and replies - enough content to see voting, accepted answers, tags, and notifications working in context
This lets you experience the full community interface as a regular member would see it, without writing any content yourself.
When you are ready to go live, click Remove Demo Data on the Jetonomy dashboard. Every demo post, reply, space, category, and user record is deleted in a single operation. Any real content you added alongside the demo data is preserved.
Note: Demo data is tracked internally via a
jetonomy_demo_datarecord. Removal is precise and does not affect any content you created yourself.
Step 3: Done
The final screen confirms your community is live and gives you two quick links:
- Visit your community - opens
yoursite.com/community/in a new tab so you can see the frontend immediately. - Go to admin dashboard - takes you to Jetonomy → Dashboard where you can manage spaces, moderate content, and configure settings.
Everything you configured in the wizard can be changed later:
| Setting | Where to change it |
|---|---|
| Community URL slug | Jetonomy → Settings → General |
| Default space type | Jetonomy → Settings → General (Community Setup) |
| Space name, type, join policy | Jetonomy → Spaces → Edit |
| Email notifications | Jetonomy → Settings → Email (Notification Defaults) |
What's Next?
Your community is live. Now learn what to do in the first hour: create categories, set up your real spaces, and invite your first members.