Categories
Categories are the top-level groupings members see on your community home page - think of them as the tabs or sections that organize your spaces. Every space belongs to a category, so it makes sense to set up your categories first, then create spaces inside them.
What You Will Learn
- How categories relate to spaces (and why you set them up first)
- How to create, edit, delete, and reorder categories
- How category visibility works
- How icons and colors appear in navigation
Categories vs Spaces
- A category is a label that groups related spaces together (for example "Support", "Community", or "Product").
- A space is the actual discussion area where members post topics and replies.
A space must be assigned to a category to appear in the community navigation. So the normal setup order is: create a category, then create one or more spaces inside it. See Creating Spaces once your categories are ready.
Where to Find It
Go to Jetonomy → Categories in your WordPress admin.
This screen is administrator-only by default - it requires the jetonomy_manage_settings capability, which is granted only to administrators. Editors and other roles do not see this page.
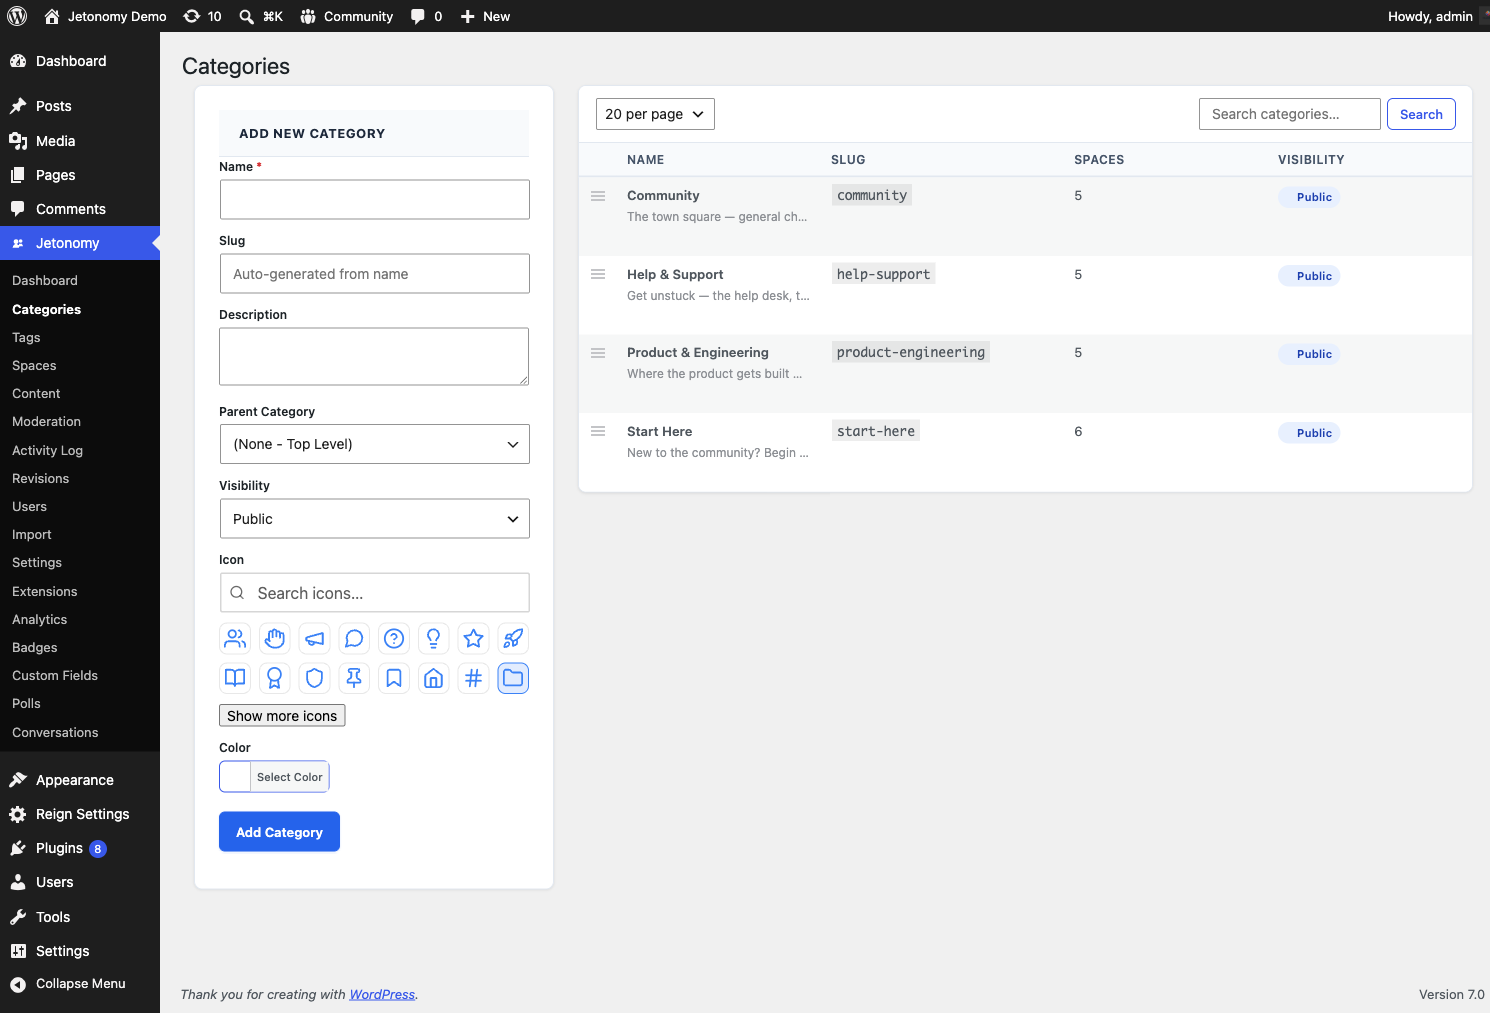
Page Layout
The Categories screen is split into two panels side by side:
- Left - Add New Category form for creating a new category
- Right - Categories table listing existing categories and their children
Creating a Category
Fill in the Add New Category form and click Add Category.
| Field | Required | What it does |
|---|---|---|
| Name | Yes | Shown in navigation and on the category page |
| Slug | No | Auto-generated from the name if left blank. Used in the URL. |
| Description | No | Optional text shown on the category listing page |
| Parent Category | No | Nest this category under an existing one. Two levels maximum. |
| Visibility | No | Controls who can see this category (see below) |
| Icon | No | Choose from the built-in Lucide icon picker |
| Color | No | A color swatch shown next to the category name in navigation |
Visibility Options
| Option | Who can see the category |
|---|---|
| Public | All visitors, including logged-out visitors, when guest access is on |
| Private | Logged-in members only |
| Hidden | Not shown in navigation or listings; the direct URL still works |
A category's visibility does not override the visibility of the individual spaces inside it. A public category can still contain private spaces - each space keeps its own visibility setting.
Editing a Category
Click Edit in the row actions under any category name. An Edit Category dialog opens with the same fields as the creation form. Make your changes and click Update Category.
Deleting a Category
Click Delete in the row actions. A confirmation prompt appears before the delete runs.
Warning: Deleting a category does not delete the spaces inside it. Those spaces lose their category assignment and become "uncategorized," which means they drop out of the community navigation until you reassign them. There is no undo - reassign the spaces first if you want to keep them visible.
Reordering Categories
Drag the handle icon at the far left of any row to reorder categories. The new order saves automatically when you drop the row. Child categories follow their parent when the parent moves.
Child Categories
Set Parent Category when creating or editing a category to nest it under an existing top-level category. The table shows children indented below their parent. Two nesting levels are supported.
Search
Use the search box in the table toolbar to filter categories by name. Clear the search to see all categories again. Searching does not affect the Add New Category form.
Rows Per Page
The dropdown in the table toolbar controls how many categories appear per page (20, 50, or 100). The list refreshes as soon as you change the selection - useful once you have a large number of categories.
What's Next?
Now that your categories are set up, create the spaces members will actually post in.